Yuzu never had a proper macOS release, and that wasn’t an accident. Support for macOS stayed half-finished and experimental, aimed more at development work and preservation than actually playing games day to day.
That said, it’s still possible to build Yuzu on macOS if you’re comfortable working with source code. Developers, researchers, or anyone curious about how the emulator works can get it running, as long as expectations stay grounded. Performance is hit-or-miss, some features are missing, and it never reached the same level of polish as the Windows or Linux builds.
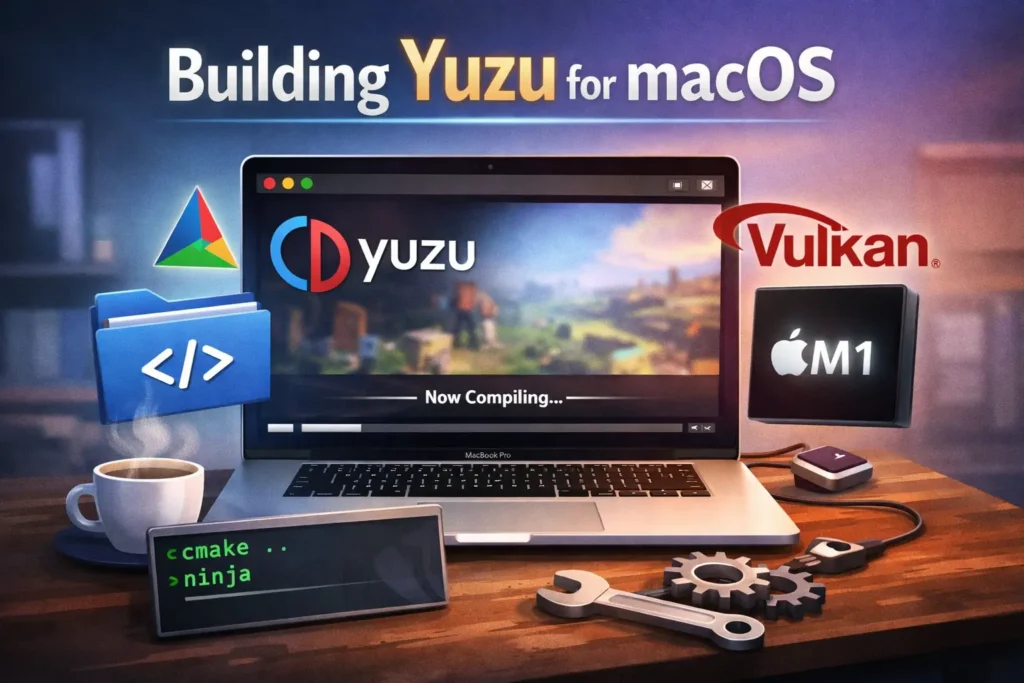
What follows is a straightforward walkthrough of the build process, focused on clarity and practicality rather than overcomplicating things.
Important Notes Before You Start
- This build is not recommended for casual users.
- Expect bugs, missing features, and incomplete Vulkan support
- No official macOS releases were ever shipped.
- Apple Silicon users may encounter extra limitations.
If you’re comfortable compiling software from source and troubleshooting build issues, you’re in the right place.
Step 1: Install Required Dependencies
Yuzu doesn’t work in isolation. It relies on a handful of third-party libraries, and on macOS those aren’t bundled for you. You’ll have to install them manually. Using Homebrew simplifies the process and saves you from tracking everything down one by one.
If Homebrew isn’t already installed, take care of that first. After it’s up and running, you can install all the required packages with a single command.
brew install autoconf automake boost@1.76 ccache ffmpeg fmt glslang hidapi \
libtool libusb lz4 ninja nlohmann-json openssl pkg-config \
qt@5 sdl2 speexdsp zlib zstd
Why these dependencies matter
- Qt 5 is what Yuzu uses for its interface, so without it there’s no usable UI.
- Boost has to stay on version 1.76 because newer releases break parts of the build.
- SDL2 takes care of basic things like controller input, sound, and window handling.
- FFmpeg is pulled in for video decoding.
- Ninja is there simply to make the whole build process faster and less painful.
Step 2: Prepare the Build Directory
Navigate to the Yuzu source directory and create a fresh build folder:
mkdir build
cd build
Now tell CMake where Qt 5 is installed:
export Qt5_DIR="/opt/homebrew/opt/qt@5/lib/cmake"This step is critical. Without it, CMake will fail to detect Qt correctly.
Step 3: Configure the Build
Run CMake with the following options:
cmake .. -GNinja \
-DCMAKE_BUILD_TYPE=RelWithDebInfo \
-DYUZU_USE_BUNDLED_VCPKG=OFF \
-DYUZU_TESTS=OFF \
-DENABLE_WEB_SERVICE=OFF \
-DENABLE_LIBUSB=OFF
What these flags do?
RelWithDebInfo: An optimized version is built along with the debug symbols remaining.
Disable tests: Running test suites is skipped, which results in faster builds.
Disable web services: This is required as vcpkg cannot manage them on macOS.
Disable libusb: It prevents the occurrence of runtime problems on macOS.
Step 4: Compile Yuzu
Once configuration finishes successfully, build Yuzu using Ninja:
ninjaThe build process can take a while, depending on your hardware.
Step 5: Run the Built Application
When the build process is finished, the app bundle will be in the bin folder.
To start Yuzu, use:
bin/yuzu.app/Contents/MacOS/yuzuNow it runs OpenGL by default, but not everything is supported yet.
Optional: Run Yuzu with Vulkan (MoltenVK)
macOS doesn’t have native Vulkan support, but MoltenVK can be used as a workaround.
Install Vulkan dependencies:
brew install molten-vk vulkan-loaderSet Vulkan loader path:
export LIBVULKAN_PATH=/opt/homebrew/lib/libvulkan.dylibLaunch Yuzu again:
bin/yuzu.app/Contents/MacOS/yuzuMoltenVK can help with compatibility, but it’s still slower than running Vulkan on platforms where it’s supported natively.
Is Building Yuzu on macOS Worth It?
For most users: no.
For developers, emulator researchers, or archival work: yes, with patience.
If your goal is smooth gameplay, Windows or Linux remains the better choice. But if you’re exploring emulation development or preserving abandoned builds, this macOS process still has value.